
Experts In
We make legacy systems think and new systems scale.
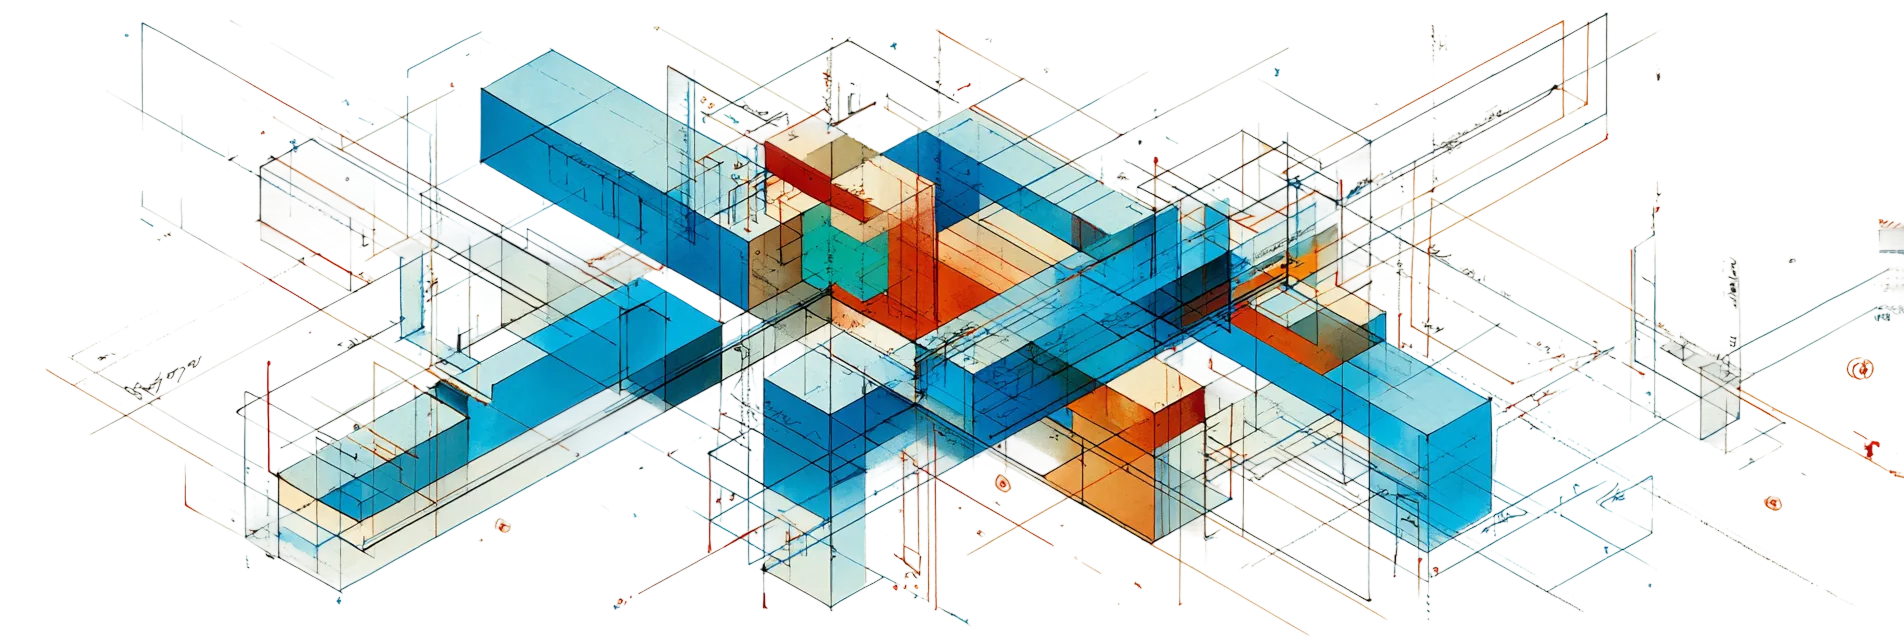
THE GAP
BETWEEN
STRATEGY
& EXECUTION
Getting AI from strategy to production is the hardest part. The models aren't the problem. The data infrastructure beneath them is.
Data Locked in Legacy Systems
SAP, ERP, and decades-old databases hold the most valuable data. Modern AI can't reach it.
Pipelines That Break Quietly
Bad data doesn't announce itself. Models drift. Outputs degrade. The signal is often invisible until it impacts a decision.
Prototypes That Don't Scale
The prototype works. Production doesn't. The gap between the two is infrastructure, and it's wider than it looks.
PRECISION
ENGINEERING
Data Engineering
AI projects succeed or fail based on whether the data pipelines can handle production scale. We build infrastructure that holds up when the prototype becomes the product. The kind of infrastructure that's invisible when it's working. We make sure it stays that way.
AI & ML
The hard part isn't training models. It's getting them to production and keeping them there. We engineer what comes after the prototype: MLOps, monitoring, retraining pipelines, and the infrastructure that makes AI reliable.
Enterprise Architecture
Your legacy systems aren't going anywhere. And they shouldn't have to. We design architectures that make 20-year-old ERP systems and modern AI platforms work like they were built for each other. No rip and replace. Just smart engineering.
Analytics
Dashboards are easy. Changing decisions is hard. We build analytics that put the right insight in front of the right person at the moment it matters. Not just dashboards. The kind of clarity that changes how a business operates.
Managed Ops
Data infrastructure breaks at 3 AM. Models drift. Pipelines fail. We run the operations so your team can focus on building. Reliable infrastructure, monitored around the clock.
Executive AI Education
AI adoption moves faster when leadership has real fluency in what's possible. We work with senior executives and leadership teams to build that understanding: how to integrate AI into their own workflows, how to evaluate what's worth building, and how to lead adoption with confidence. No slides. No jargon. Just clarity.
From Roadmap to Reality.
Built for Production.
From Roadmap to Reality.
Built for Production.
SIGNAL
“Embedding isn't a service upgrade. It's the only place the work can be done.”Embedded AI Engineer: Why Embedding Beats Handoff
Your AI is Brilliant. So Why Does it Act So Stupid?
Enterprise AI has access to everything and understands nothing. The gap isn't data. It's the context layer that turns information into intelligence. We built a maturity framework to help you find exactly where yours breaks down.
From In The Loop to On The Loop
Every AI system sits somewhere between "human decides everything" and "machine decides everything." Getting the line right is harder than it looks. We built a scoring model to help.
PREDICTING FAILURE BEFORE IT HAPPENS
A manufacturing facility wanted to catch defects earlier in production. We built a predictive ML system that analyzes real-time sensor data to flag issues before they reach the line.
Trusted By